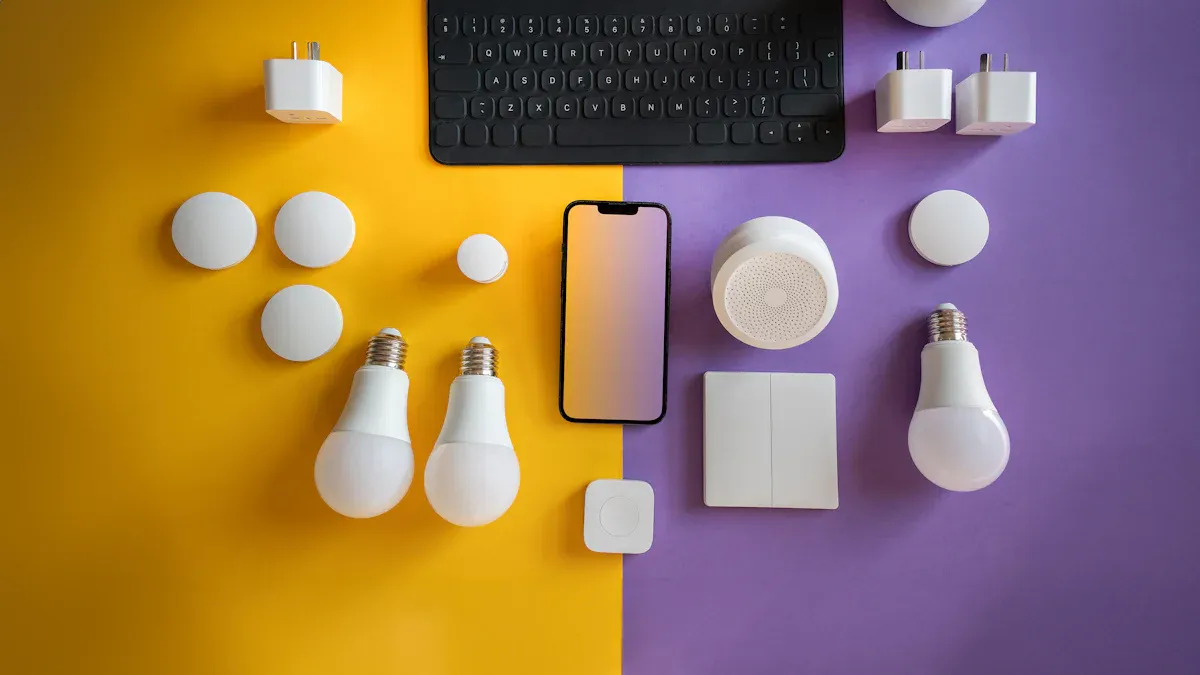
Imagine controlling your lights without ever leaving your seat. Remote light switches make this possible. These devices let you turn lights on or off and even dim them using a remote, smartphone, or voice commands. They’re perfect for modern homes and offices.
Why are they so popular?
Smart lighting systems can cut energy costs by up to 30% with features like scheduling and remote control.
Over 40% of U.S. households had smart home devices in 2023, and this number is growing fast.
The market for remote control light switches is booming, expected to more than double by 2030.
Additionally, these switches help save energy in measurable ways:
Motion detector switches ensure lights are only on when needed.
Adjustable switches dim lights when there’s enough daylight.
With these benefits, remote light switches aren’t just convenient—they’re also a smart investment for your home or office.
Key Takeaways
Remote light switches let you control lights from anywhere. This makes life easier at home or work.
These switches can cut energy costs by up to 30%. They have features like timers and motion sensors.
Always turn off power and test for voltage before starting. This keeps you safe during installation.
Make sure the switch works with your electrical setup first. Some need a neutral wire to work.
You can connect these switches to smart home systems. This lets you use voice commands and set routines easily.
Tools and Materials for Installing Remote Light Switches
Essential tools for installation
Before you start, gather the right tools to make the process smooth and hassle-free. Here’s what you’ll need:
Phillips head screwdriver
Flathead screwdriver
Voltage tester
Pliers
Wire stripper
Wire nuts
Electrical tape (optional)
Flashlight (if the area is dimly lit)
These tools are easy to find and are likely already in your toolbox. A voltage tester is especially important—it ensures your safety by confirming the power is off before you begin.
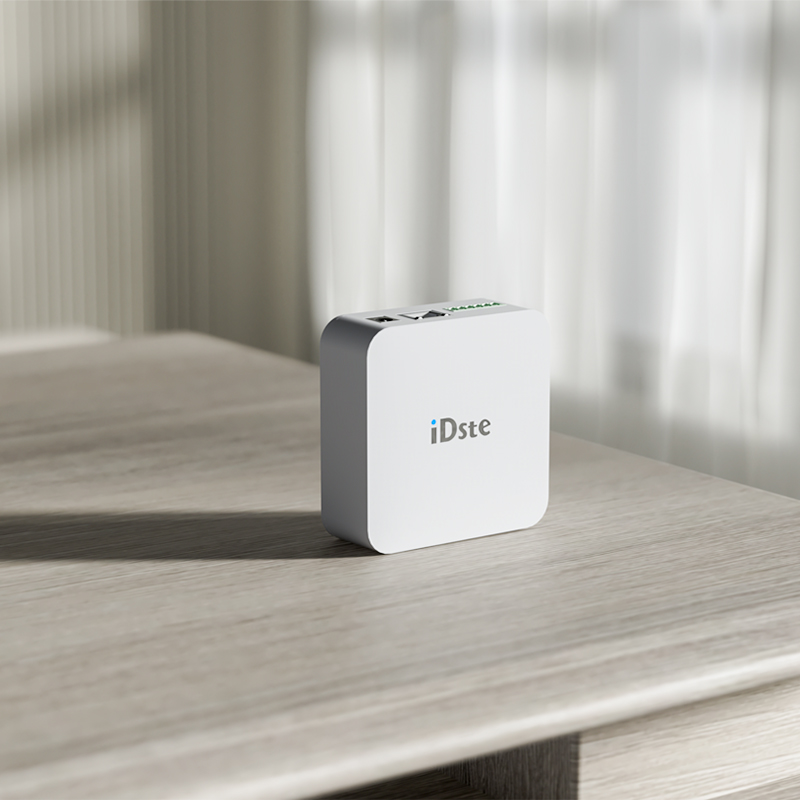
Materials included in a remote light switch kit
Most remote light switch kits come with everything you need for installation. Here’s what you can expect:
A smart light switch
A receiver module
Mounting screws
Instruction manual
Some kits even come pre-linked, meaning the switch and receiver are already paired. This feature saves you time during setup. Keep in mind that these switches are designed for indoor use only and typically work within a range of 50 to 150 feet, depending on walls and other barriers.
Specification
Details
Indoors Only
Switches and receiver are not weatherproof and should be used indoors.
Pre-linked
Switches and receiver are shipped already linked for quicker installation.
Range
50-150 feet from the receiver, depending on walls and barriers.
Interference
Multiple units can be used without interference.
Power Supply
Receiver requires AC input; switches are self-powered.
Easy Install
Receiver is wired between power and fixture, switch can be mounted easily.
Optional tools for advanced setups
If you’re planning a more complex setup, a few additional tools might come in handy:
Insulated gloves and safety glasses for extra protection
A small box or plastic bag to store screws and small parts
A stud finder to ensure secure mounting on walls
For advanced features, consider switches like the Leviton with motion sensing and dimming capabilities or the TP-Link Kasa, which is budget-friendly and works with most smart home systems. These options are highly rated and offer added convenience, but they may require a neutral wire for installation.
Pro Tip: Always check your home’s wiring compatibility before purchasing a remote light switch. This step can save you time and frustration later.
Safety Precautions for Installing Remote Light Switches
Installing remote light switches can be a straightforward process, but safety should always come first. Taking the right precautions ensures not only a smooth installation but also protects you from potential hazards. Let’s dive into the key safety measures you need to follow.
Turning off the power supply
Before you touch any wires, make sure the power supply to the switch is completely off. This step is non-negotiable. Use your circuit breaker to cut the power to the area where you’ll be working. Then, double-check with a voltage tester to confirm there’s no electricity running through the wires.
Why is this so important? Here’s what the statistics say:
Over 22,000 fires each year are linked to wiring issues, highlighting the need for proper installation.
OSHA Regulations
OSHA mandates safe practices for handling electrical disconnects to prevent injuries and fatalities.
Pro Tip: Label the breaker you’ve turned off to avoid confusion if someone else is home. This small step can prevent accidents.
Using safety gear and tools
Wearing the right safety gear can make a big difference. Even if you’re confident in your skills, accidents can happen. Equip yourself with insulated gloves to protect against electric shocks and safety glasses to shield your eyes from debris. If you’re working in a dimly lit area, a headlamp can keep your hands free while providing adequate light.
Here’s why personal protective equipment (PPE) matters:
Always wear flame-resistant clothing to reduce the risk of burns.
Use face shields and insulated gloves to protect against arc flash effects.
Reminder: Keep a first-aid kit nearby. It’s better to be over-prepared than caught off guard.
Ensuring compatibility with your electrical system
Not all remote light switches are compatible with every electrical system. Before you start, check your home’s wiring. Some switches require a neutral wire, which older homes might not have. If you’re unsure, consult the instruction manual or reach out to the manufacturer for guidance.
Here are a few real-world examples that highlight the importance of compatibility:
A data center successfully installed an Electrical Power Monitoring System (EPMS) alongside an existing system, proving that compatibility is key to maintaining operational integrity.
One client had to upgrade their automation system because their older operating system wasn’t supported. This shows how essential it is to ensure new systems work with existing ones.
Modernizing outdated systems can prevent them from becoming liabilities. Timely upgrades and compatibility checks are crucial for a seamless installation.
Quick Tip: Take a photo of your current wiring setup before removing the old switch. This can serve as a helpful reference during installation.
By following these safety precautions, you’ll not only protect yourself but also ensure your remote light switches function properly for years to come.
Step-by-Step Guide to Installing Remote Light Switches
Installing remote light switches might seem intimidating, but breaking it down into simple steps makes it manageable. Follow this guide to transform your lighting setup with ease.
Disconnecting power and removing the old switch
Before you start, safety comes first. Disconnecting power is the most critical step to avoid electrical hazards. Here’s how you can do it:
Turn Off Power: Locate your circuit breaker and switch off the power to the area where you’ll work. Flip the light switch to confirm the power is off.
Remove the Switch Plate: Unscrew the plate covering the old switch and set it aside.
Disconnect the Old Switch: Unscrew the switch itself, gently pull it out, and detach the wires one by one.
Prepare the Wires: Strip the ends of the wires if necessary, ensuring they’re ready for the new connection.
Tip: Keep the screws and small parts in a container to avoid losing them during installation.
By following these steps, you’ll safely remove the old switch and prepare the area for your new remote light switch.
Installing the receiver in the light fixture
The receiver is the brain of your remote light switch system. It communicates with the switch to control your lights. Installing it requires precision but is straightforward if you follow these steps:
Turn Off the Power: Double-check that the power is off using a voltage tester.
Remove the Existing Light Fixture: Unscrew the fixture and disconnect the wires. Take note of the wiring configuration—it’ll help during reinstallation.
Connect the Receiver: Match the wires from the ceiling to the receiver using the color codes provided in the manual. Secure the connections with wire nuts.
Mount the New Fixture: Attach the mounting bracket to the ceiling, connect the fixture to the receiver, and secure it in place.
Pair the Remote Control: Insert batteries into the remote and follow the pairing instructions in the kit.
Pro Tip: If you’re unsure about the wiring, take a photo of the setup before disconnecting anything. It’ll serve as a handy reference.
Once the receiver is installed, your light fixture is ready to respond to commands from the remote light switch.
Mounting the remote light switch on the wall
Mounting the remote light switch is the final step. It’s quick and easy, but you’ll want to ensure it’s secure and accessible. Here’s how:
Choose the Location: Pick a spot on the wall that’s convenient and complies with building codes. The switch should be within reach and allow manual control.
Prepare the Surface: Use a stud finder to locate a sturdy spot for mounting. Clean the area to ensure the adhesive or screws hold firmly.
Attach the Switch: Depending on the kit, you’ll either use screws or adhesive strips to mount the switch. Follow the instructions provided for your specific model.
Test the Placement: Press the switch to ensure it’s securely mounted and functions properly.
Ensure the switch is easy to reach for manual operation.
Automatic Shutoff Requirements
Verify that the system supports automatic shutoff when the area is vacant.
Light Reduction Capability
Confirm the switch allows dimming or multilevel light reduction.
Reminder: If you’re integrating the switch into a smart home system, check compatibility before mounting.
With the switch securely in place, your remote light switches are ready to make your lighting setup smarter and more convenient.
Pairing the switch with the receiver
Pairing the switch with the receiver is the step where everything comes together. This process ensures that your remote light switches communicate properly with the receiver to control your lights. Don’t worry—it’s easier than it sounds! Follow these steps to get it done:
Check the Instructions: Start by reading the pairing instructions in your kit’s manual. Each brand has its own method, so it’s important to follow the specific steps for your model.
Power On the Receiver: Turn the power back on at the circuit breaker. The receiver needs power to pair with the switch.
Activate Pairing Mode: Most receivers have a small button or switch to enter pairing mode. Press and hold it until you see an indicator light blinking. This tells you it’s ready to connect.
Pair the Switch: On the remote switch, press the designated pairing button. Some models require you to hold the button for a few seconds, while others pair automatically when brought close to the receiver.
Test the Connection: Once paired, test the setup by pressing the switch. The light should turn on or off instantly. If it doesn’t, repeat the pairing process or consult the troubleshooting section of your manual.
Pro Tip: If you’re pairing multiple switches to one receiver, pair them one at a time. This avoids confusion and ensures each switch works as intended.
Troubleshooting Pairing Issues
Sometimes, pairing doesn’t work on the first try. That’s okay—it happens! Here are a few common issues and how to fix them:
Receiver Not Entering Pairing Mode: Double-check that the power is on and the receiver is installed correctly. If the indicator light doesn’t blink, try resetting the receiver by turning the power off and on again.
Switch Not Responding: Make sure the batteries in the remote switch are fresh and installed correctly. Dead batteries are a common culprit.
Interference: If you’re in a home with multiple smart devices, interference might be the issue. Move closer to the receiver during pairing or temporarily turn off other devices to reduce signal conflicts.
Quick Tip: Keep the switch and receiver within the recommended range during pairing. Most systems work best when the devices are no more than 10 feet apart during setup.
Once paired, your remote light switches will be ready to use. You’ll love the convenience of controlling your lights with just a press of a button or even a voice command if you’re integrating with a smart home system.
Testing and Troubleshooting Remote Light Switches
Testing the switch functionality
Once you’ve installed your remote light switches, it’s time to test them. Start by turning the power back on at the circuit breaker. Then, press the switch to see if the light responds. If it turns on and off as expected, you’re off to a great start!
Next, test any additional features like dimming or motion detection. If your switch connects to a smart home system, try controlling it through your app or voice assistant. Make sure the response is quick and consistent.
Pro Tip: Test the switch from different distances to check its range. Most systems work within 50 to 150 feet, but walls and other barriers can affect performance.
Resolving common installation issues
Sometimes, things don’t go as planned. If your switch isn’t working, don’t worry—most issues are easy to fix. Here’s a quick checklist to troubleshoot:
Confirm the receiver is wired correctly. Double-check the connections and ensure the wires match the color codes in the manual.
Make sure the batteries in the remote switch are fresh and installed properly.
Check the pairing. If the switch and receiver aren’t communicating, repeat the pairing process.
Use diagnostic tools like the Verify Loads feature to confirm the receiver is controlling the correct light. The Diagnostics Tab can also help by showing error messages or device status.
If you encounter error messages, follow these steps:
Verify the config.xml file has the correct assembly names.
Enable Network DTC Access and adjust security settings if needed.
Quick Tip: If you’re still stuck, consult the troubleshooting section of your manual. It often has solutions for common problems.
When to contact a professional
Sometimes, it’s best to call in an expert. If you’re dealing with complex wiring or your home’s electrical system seems outdated, a licensed electrician can help. They’ll ensure everything is installed safely and up to code.
You should also contact a professional if:
The switch or receiver isn’t compatible with your system.
You notice sparks, burning smells, or other signs of electrical damage.
Troubleshooting steps don’t resolve the issue.
Reminder: Safety comes first. If you’re unsure about anything, don’t hesitate to seek professional help. It’s better to be safe than sorry.
Additional Considerations for Remote Light Switches
Smart home system compatibility
When choosing remote light switches, you’ll want to ensure they work seamlessly with your smart home system. The good news? Most remote switches are designed to integrate with popular platforms like Amazon Alexa, Google Assistant, Apple HomeKit, and Samsung SmartThings. This means you can control your lights with voice commands or through an app on your phone. Imagine saying, “Turn off the living room lights,” and it happens instantly. Pretty cool, right?
This compatibility also allows you to create custom routines. For example, you can set your lights to dim automatically at bedtime or turn on when you arrive home. It’s all about making your life easier and more efficient.
Energy-saving and sustainability benefits
Remote light switches aren’t just convenient—they’re also great for saving energy. By using features like motion detection and scheduling, you can ensure lights are only on when needed. This reduces electricity waste and lowers your energy bills. Plus, many switches allow you to dim lights, which uses less power and extends the life of your bulbs.
If you’re eco-conscious, these switches are a step toward sustainability. Less energy use means a smaller carbon footprint. Over time, these small changes can make a big difference for the planet.
Upgrading existing systems for enhanced performance
Upgrading your current lighting system to include remote light switches is easier than you might think. Many models are designed to work with standard wiring, so you won’t need a complete overhaul. If your home has older wiring, you might need a switch that doesn’t require a neutral wire. These options are widely available and easy to install.
Upgrading also opens the door to advanced features like app control, voice activation, and integration with other smart devices. It’s a simple way to modernize your home or office while boosting convenience and efficiency.
Installing remote light switches doesn’t have to be complicated. You’ve learned how to gather the right tools, follow safety precautions, and complete the installation step by step. By taking your time and preparing properly, you’ve ensured a safe and successful setup.
Now, you can enjoy the convenience of controlling your lights with just a tap or voice command. Whether it’s saving energy or adding a touch of modernity to your space, these switches are a game-changer. So, go ahead—sit back, relax, and let your new lighting system do the work for you!
Click the button to contact us for more information